Sanitation Station
- Matt Thomas

- Nov 12, 2020
- 3 min read
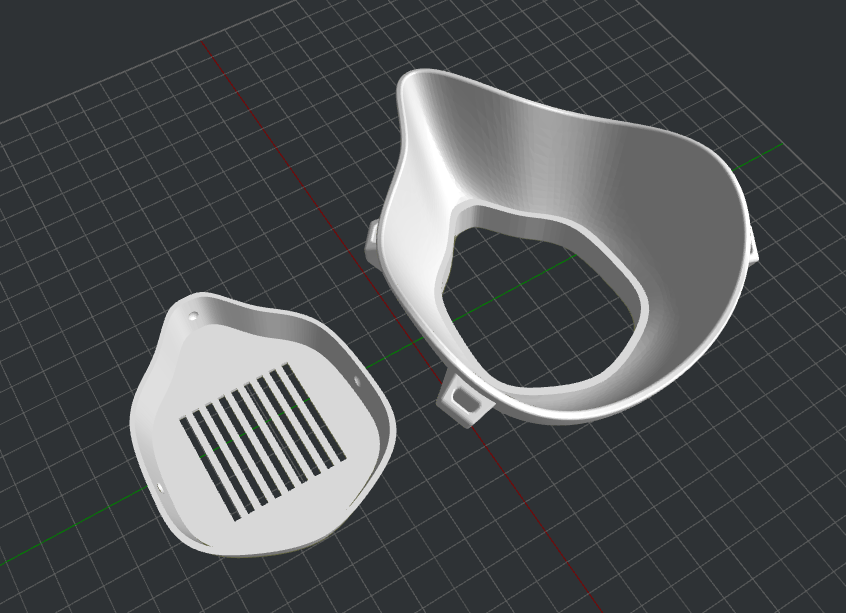
Sterilization and Post-processing of 3D printed masks and or face shields April 1st 2020
This document will provide the basics of sterilizing and packing of 3D printed masks and face shields that have been created by makers and users alike in their homes and or other environments. This is meant to be a safeguard for those whom do not have a clean room, or a certified environment for production. This will help keep the parts clean, and safe for use by others, including but not limited to the general public, nurses, doctors and other medical staff.
These guidelines are the same requirements used by food and health establishments to ensure a safe, clean, and productive atmosphere. This guide will be a basic walk through of what you need and how-to setup the sanitation station used.
MATERIALS:
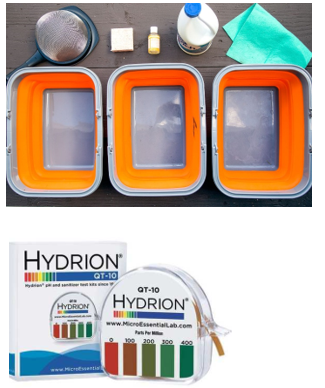
Three 14 in by 10.75 inch “Sterlite” or equivalent containers Ziploc bags of varying sizes to hold separate components Gloves, mask, and hairnet or at least hair tied back Large non porous table such as stainless steel or a hard plastic, foldable table Bar cloths or dish cloths Bleach. Be sure to use REGULAR bleach, not the “No splash” variety. It will NOT kill bacteria or viruses. Bleach test strips Measuring spoons Anti-bacterial dish soap Water Parts to be cleaned
PROCEDURE:
To make this as close to standard as possible during a crisis situation, like COVID-19. Please setup the sanitation station in a room or kitchen that is clean and free from pets. If needs be, one can set up outside on a sunny day with little wind. If one has a canopy tent, such as those used for camping or food booths, use that with some side walls.
1.In one of the containers, add one gallon of COLD or LUKE WARM water. Use a measuring spoon and measure ONE tablespoon of REGULAR bleach into the water. Do NOT use hot water with bleach. It deactivates it. Test it with a bleach strip to ensure that it is at the proper molarity. If not, add more bleach until the strip turns the required color for sanitation.
2.Setup the table but do not put anything on it yet.
3.Soak a bar cloth or another dish cloth in the bleach water solution. Ring out the cloth and wipe down the table thoroughly, ensuring that not organic matter or dirt is left on the surface. Let it air dry. Once dry, the table is ready to be used.
4.Place the three tubs on the table. In the first tub add HOT water and soap. In the second tube, add HOT water only, the third tub is your bleach water solution. Your set up should look like the following image on the page below.
5.Make sure your Ziploc bags and anything else you need is ON the table. If you move it some where else and bring it back, you will need to re-sanitize the table.
6.Wearing gloves, and a mask, take the part to be cleaned and wash it heavily in the hot soapy water for at least 30 seconds.
7.Once washed, place said item into the rinse container and rinse off all soap residue. Be sure part is rinsed well.
8.Place the rinsed part into the sanitizing bleach solution for at least 2 minutes. After said amount of time, remove part and place on clean towel to dry.
9.As part is drying, get a Ziploc bag that is roughly the same size as the part. Do not open the bag yet.
10. As soon as the part is completely dry, immediately place it in the Ziploc bag and seal the bag, removing as much air as possible. Once the bag is sealed DO NOT RE-OPEN THE BAG. If you do, you must start all over again with washing, rinsing, and sanitizing.
11.If at all possible, wait 24 hours before delivering the parts to whomever. This will allow any other bugs to naturally die out.
12.Print up a document, stating what materials were used to produce the part, what pre-cautions were followed to ensure cleanliness and the procedure of how you sterilized and packed said part. This will aid any personal, especially healthcare workers, of how your part went from A to Z
If you have any questions, don’t hesitate to contact your local health department or the CDC.